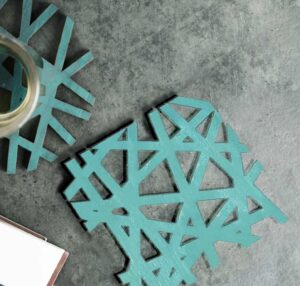
Mid Century Modern Coasters, Free plans, Great Gift
This free laser project makes a great gift for hosts or as part of a housewarming gift. Learn how to make these easy coasters.
If you already subscribed you can download the SVG here.
Looking for an easy gift for your friend? This modernist coaster pattern may just be the thing. Pair them with a beverage and enjoy!
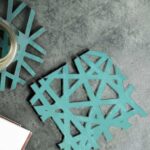
Mid Century Modern Coasters
These come together quickly as a nice, useful piece of home decor. Great as a gift or for yourself.
Materials to Make These Coasters
Tools Needed
- Laser cutter and computer
- Laser control software
- Optional Air Assist for your laser
- Paintbrush or Finishing Tools for Wood
Materials Needed
- The Free SVG
- Wood board – I used cheap 1/8″ ply for this project. I think it would look great with nicer wood and a wax finish too!
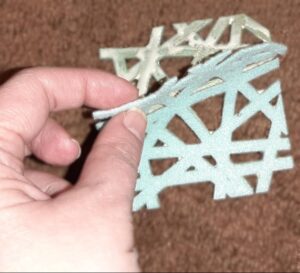
- Craft Felt – Acrylic Felt is laser safe.
- Glue – Moisture resistant
- Paint, Wax, or Varnish – To protect the wood from moisture
Select your cut settings
First, you need to figure out the best power and speed combination to cut your wood and felt. The best way to get perfect results is to run a test. Once you have a good result you can record it for the the future, like in the Laser Lovin’ Logbook for future reference.
I can’t give you exact numbers for your machine and materials but to help you out acrylic felt cuts fairly easily. I used a power of 93 and a speed of 80 with a 10 watt X tool diode laser head. I could have gone much lower power I think. It will have slightly melted hard edges – which is an advantage for this project.
Download the SVG
you need to download the coaster pattern and upload it to the program you use to control your laser machine. I made this project using Lightburn, but anything you use should be fine.
Cut the Pieces
For each coaster you will need to cut the same pattern out of wood and felt. You can copy the image to make multiples on each sheet to make a set of coasters.
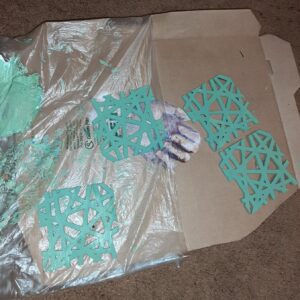
Protect from Moisture
I decided to paint my wood to match another part of the gift using acrylic, but you may wish to use a clear coat. It you have beautiful wood you may even choose to just wax it. The point is to select something that will help create a barrier to water when used.
Add The Felt Backing
Once the coaster is dry, apply a thin goat of glue to the back side of the wood coaster. Only applying the glue to one side will allow you to align the felt more easily. Starting at one end, align the felt to the wood and pinch press it down. Once it is aligned the felt will ‘roll’ into place with your guidance. Burnish the felt down to make good contact and set aside to dry.